-
Use
Architectural visualization -
Applications
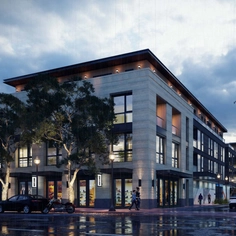
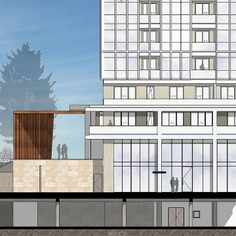
Rendered images, videos, 360° panoramas -
Characteristics
Fast rendering speeds, compatibility with most design software, photorealistic and conceptual results, large objects and materials library, enables quick updates to clients by sending them a link through email, no training is needed.
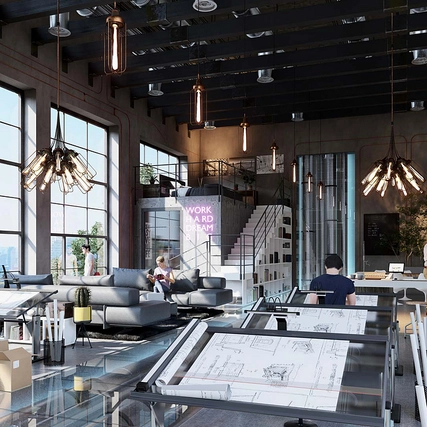
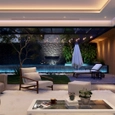
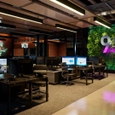
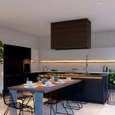
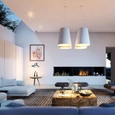
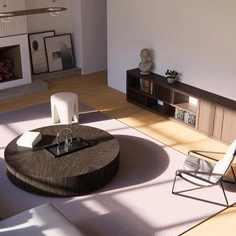
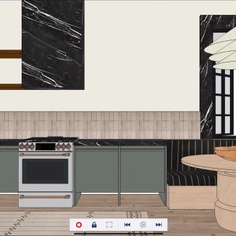
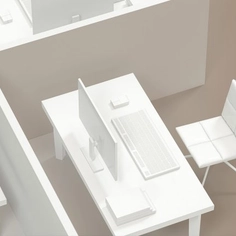
Lumion 3D rendering software can bring interior designs to life quickly, it can be used to communicate the beauty of a 3D interior model and share the vision for the project. From living rooms to the workplace, Lumion makes it easy to render and show interiors with a realistic interplay of lighting and shadow, and lifelike materials with tactile textures. The following guide helps with the approach to rendering for interior designs.
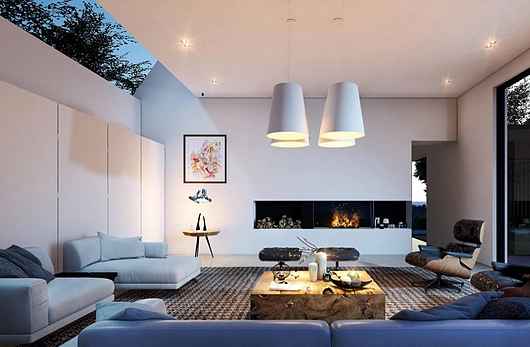
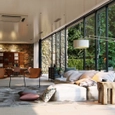
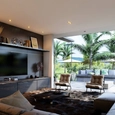
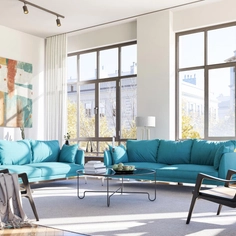
Living room interior rendered in Lumion 9 by Gui Felix
1. Add materiality to your building
After importing a 3D interior into Lumion, there is a wide range of intuitive tools and visually stunning effects that can be used to bring it to life. With over 1,000 materials, including wood, stone, bricks, glass, water and more, an interior can be quickly dressed with customizable materials.
With the help of displacement mapping and Lumion’s built-in library of over 1,250 customizable materials, you can present a lifelike and detailed representation of your building materials while helping the viewer vividly imagine the finished result of each design detail.
Lumion has 229 built-in displacement maps, indicated by a “D” within the thumbnail of the material. With these materials, you can simply toggle the displacement slider. You can also import your own displacement maps for any material choice, whether a Lumion material or an imported one.
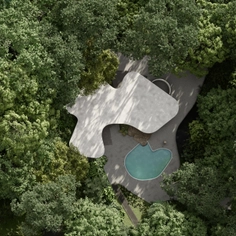
A comprehensive nature editor also makes it easy to show the environment outside a window or views from a bedroom or a balcony, for instance.
2. Add furniture with Lumions content library
Once materials have been added to the interior, a large library containing over 5,000 objects can be employed to furnish living rooms, kitchens, bedrooms, office spaces, restaurants, schools, hospitals and more.
There are animated 3D characters to show how people can move around the designed spaces. With the content library, demonstrating the experience and the feeling that people will have when they enter a room is quick and effective.
3. Add visual effects to set the mood
Lastly, with Lumion’s wide range of visual effects, realistic lighting, shadow, outline, color, reflections and more can be added to a scene. Lumion gives you full control to diffuse light throughout the spaces interior, choosing where to cast shadows and how vivid or soft you want the light and shadows to be.
Compatible Software
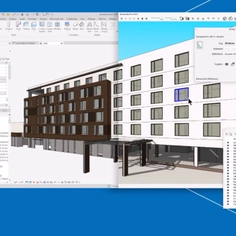
Lumion is compatible with most popular 3D modeling programs, and real-time connection with programs can be easily set up with Lumion LiveSync, available for:
- Revit
- SketchUp
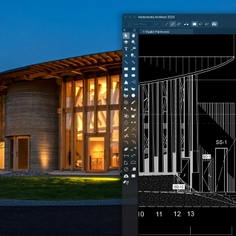
- ArchiCAD
- Rhino
- Vectorworks.
For an interior designer or architect without any 3D rendering experience, it is easy to start creating beautiful renders, videos and 360 panoramas in Lumion, quickly and without the need for specialized training.


