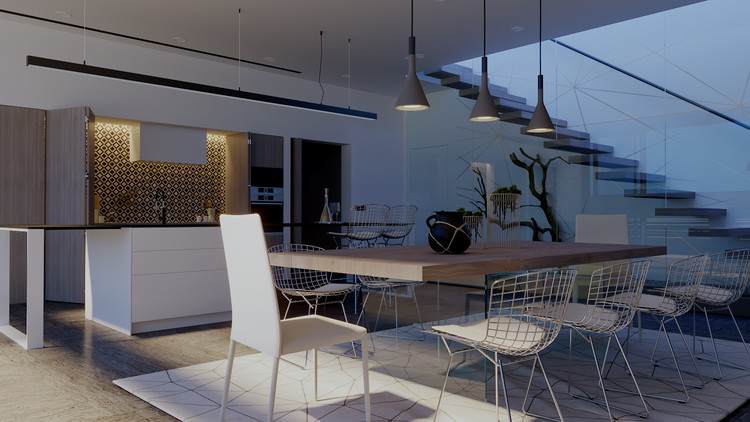
With V-Ray 5 for SketchUp, Update 2, Chaos has introduced intelligent new tools that make it easy for architects and arch-viz artists to create incredible renders. You can make use of the free models and materials provided in Chaos Cosmos, customize surfaces with V-Ray Decal, and tune your render with LightMix and post-processing.
In this tutorial, V-Ray Product Specialist Ricardo Ortiz uses an interior scene to demonstrate how these powerful new additions can accelerate your creative processes and add extra details for exceptional photorealism.
Starting the project
Once I have analyzed the space within the 3D model, I start my SketchUp rendering process with the default V-Ray lighting: VRaySun and VRaySky.
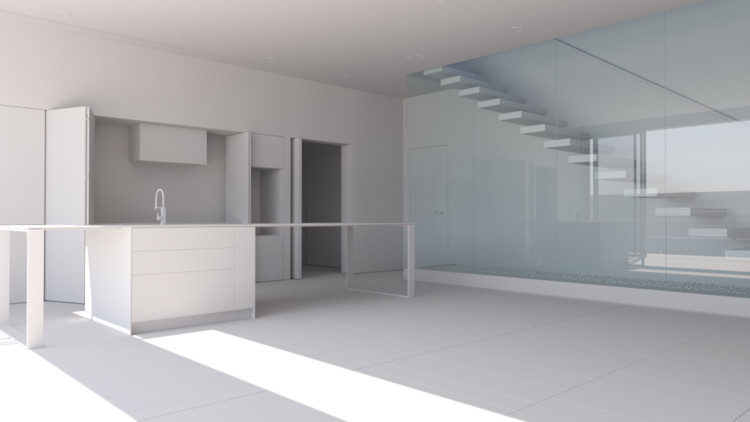
For this tutorial, I have previously applied some basic materials that correspond to the general finishes of a new apartment (floor, walls, glass, and doors). Therefore, I will use the Material Override function to override all the materials, except the glass, and allow the light through the geometries. To do this, I simply go to my glass material in the V-Ray Asset Editor and disable the "Can be overridden" option.
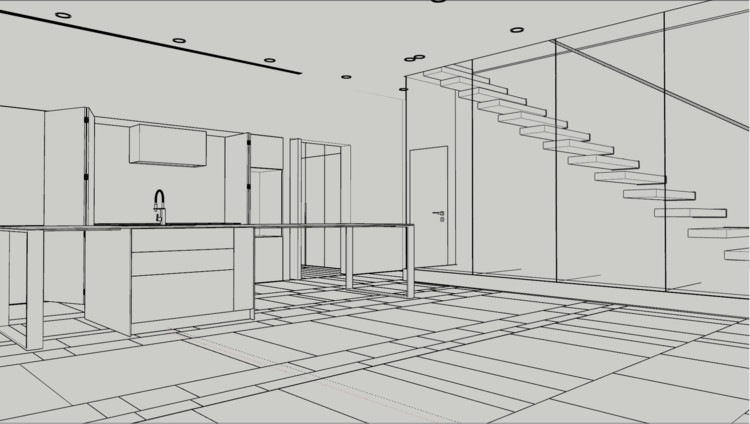
I also tried some sun positions, and I defined my main camera angle.
Chaos Cosmos Assets and Lighting
Setting the space
I want to add some furniture and accessories to my scene. Chaos Cosmos, Chaos’ free content library, has plenty to choose from. In the Chaos Cosmos browser, I look for the most suitable models for my project. I need lamps, chairs, a table, and decorative accessories. With Chaos Cosmos, I do not have to leave the SketchUp platform, which makes adding 3D content even faster.
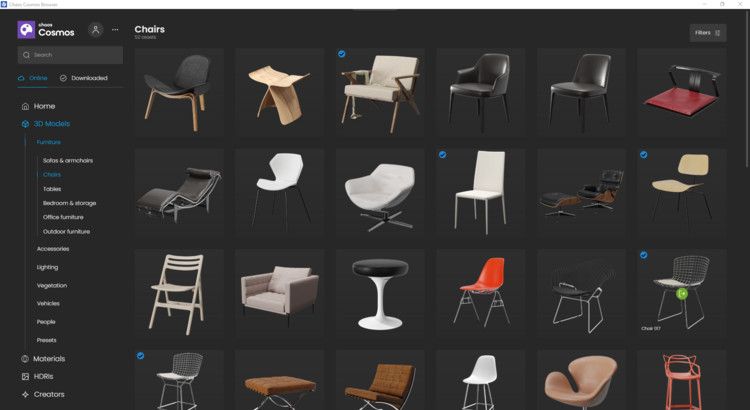
After I have added my 3D models, I re-render the scene to see how it looks.
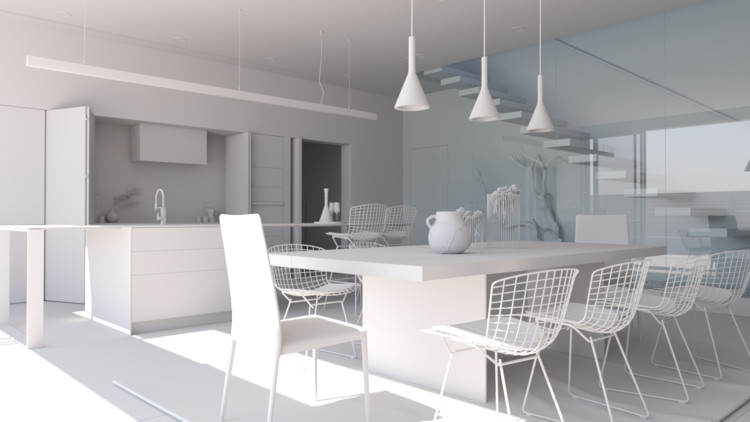
Adjusting the lighting
As I have added some lamps that will contribute to my final render, it is time to start my lighting adjustment work.
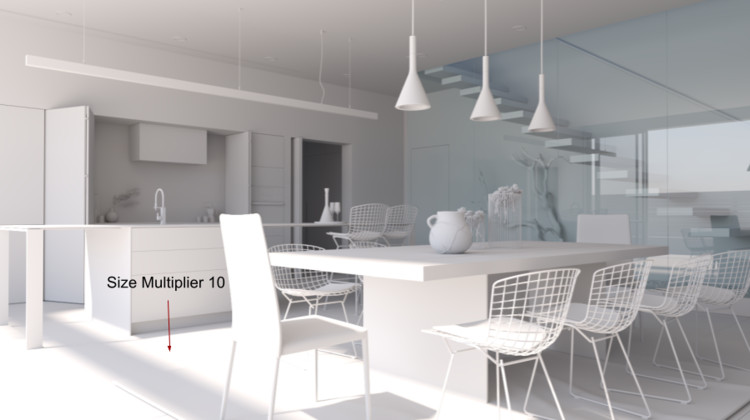
I will start with a minor adjustment to the natural light (Sunlight), increasing the Size Multiplier to obtain softer shadows. I also disable my Material Override to analyze the result with my Chaos Cosmos assets’ materials. Remember to balance out changes in exposure and light due to the applied materials.
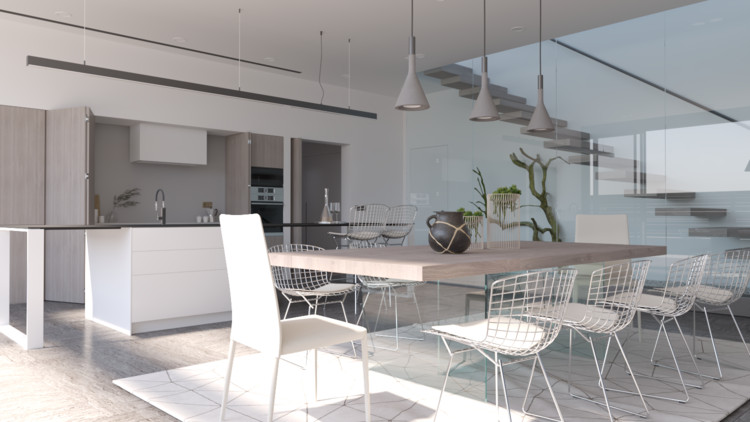
Now I need to make adjustments considering light sources such as lamps.
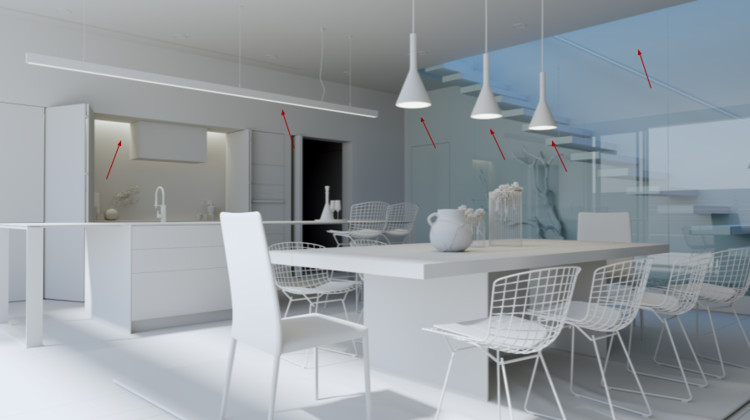
I will place six main light sources in my scene: three rectangular lights in the kitchen and bar and one more on the stairs. In addition, three spherical lights correspond to the lamps on the main table.
Chaos Cosmos Materials
V-Ray for SketchUp, Update 2 introduces a new category in Chaos Cosmos: materials, a perfect solution to define my interior space. Although V-Ray contains an extensive library of materials, Chaos Cosmos offers an exceptional workflow that integrates and unifies perfectly on all 3D platforms.
Working materials and finishes
I place a camera in front of the kitchen and download materials for the walls and countertops.
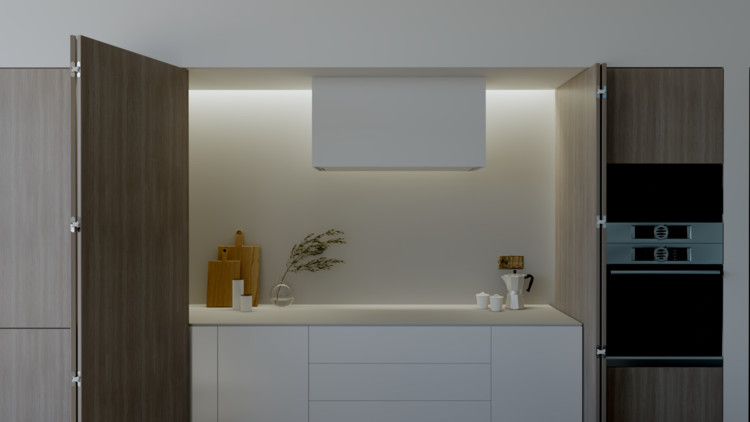
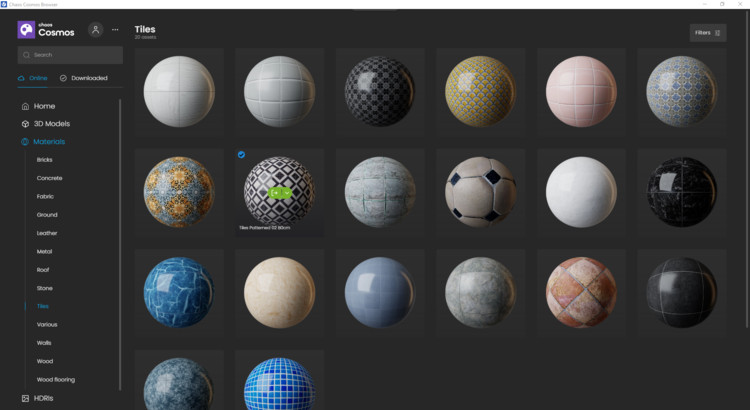
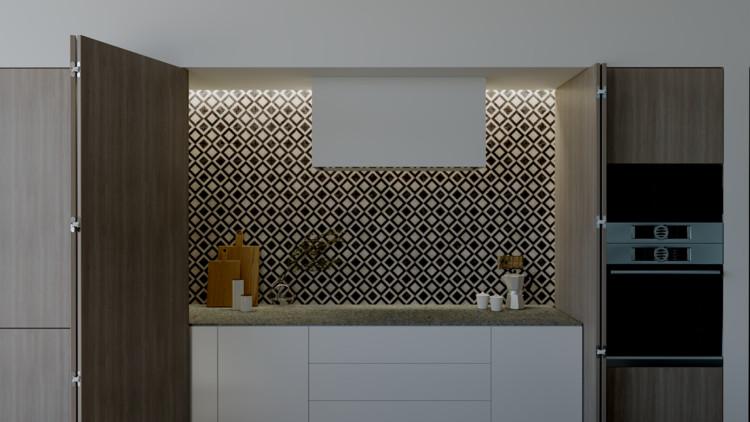
I have already applied the materials I need. Depending on our geometries and creation processes in SketchUp, sometimes it is necessary to use Tri-Planar projections (world and fit) for efficient and fast mapping.
I go back to my camera and its original angle, hit render, and see our result.
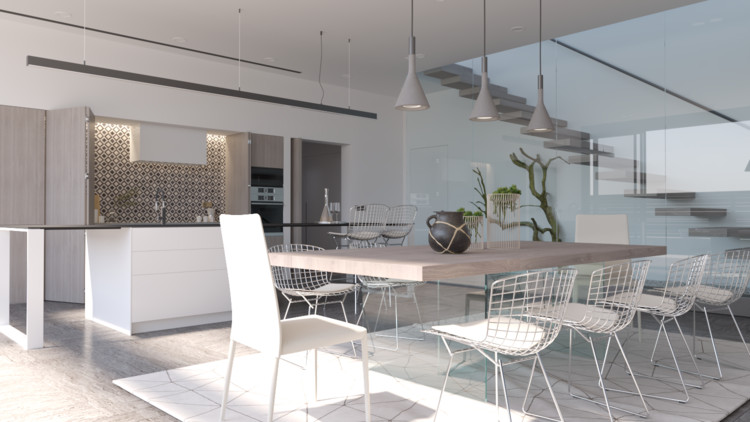
First color correction adjustments
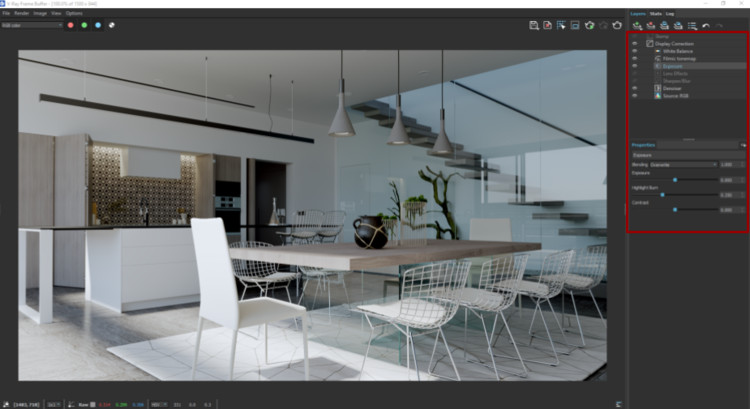
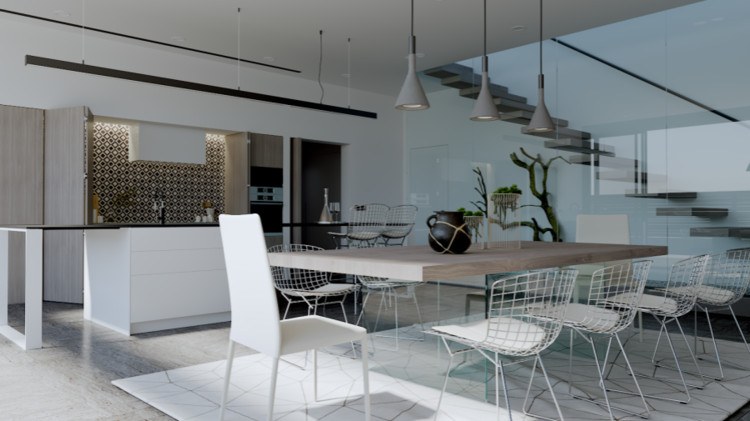
I think it’s time to add some color correction layers for a bit of contrast. I’m going to add Exposure, White Balance, and Filmic tonemap. Experimenting with these settings can help you tune your image to perfection.
V-Ray Decal
V-Ray for SketchUp, Update 2 introduces a useful feature: V-Ray Decal. With Decals, you can easily project unique materials onto objects of any shape and create effects like graffiti on a wall, markings on a road, or logos on a product.
On Pinterest, I found some decorations made with gold tape, and I’d like to use them in my scene. V-Ray Decal is a perfect solution for this, and it will only take a few steps.

Decorative elements
I will create a new camera with a perpendicular view to the stairs, activate the Material Override again, and hide the glass to speed up my rendering process.
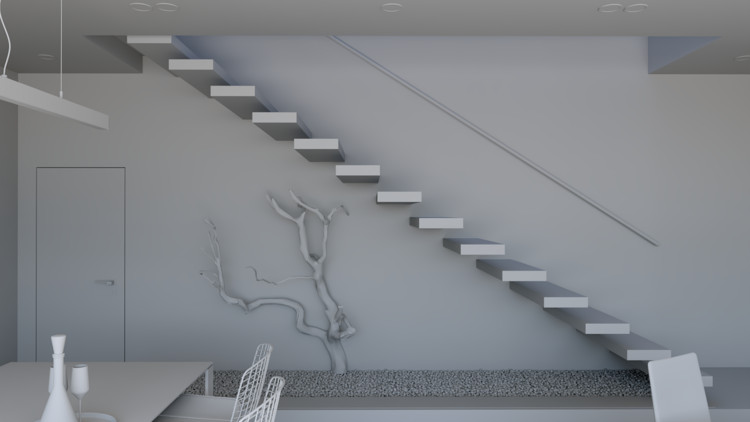
Now I will create a Decal that covers the length and width of the stair wall. I set the height to 1 cm to avoid projecting my material on other geometries.
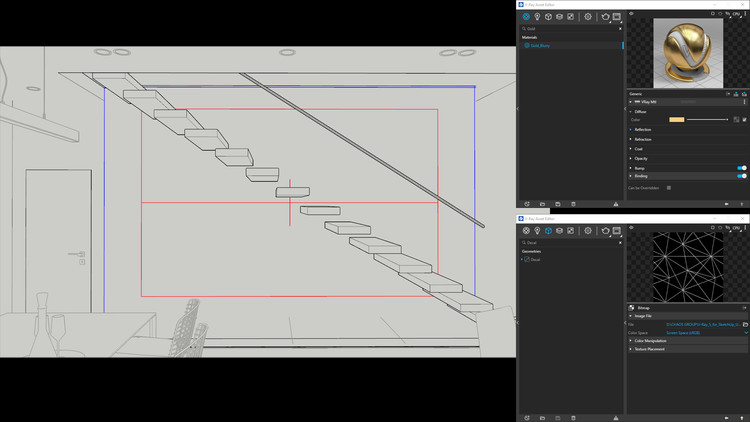
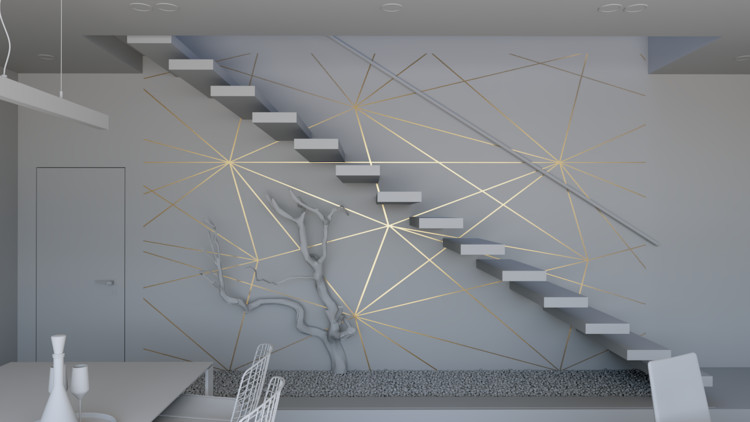
I have taken the Gold_Blurry material from the V-Ray materials library for SketchUp. In my Decal parameters, I assign the material and select the mask corresponding to my gold tape pattern that I previously created in Photoshop. I disable “Can be overridden” for the Gold_Blurry material and click render.
Scatter tool
V-Ray for SketchUp, Update 2 also introduces the Scatter tool as a new feature. This significantly streamlines building terrain for your models. You can create detailed scenes by adding hundreds, thousands, or millions of objects and Chaos Cosmos models on any surface in an intuitive and memory-efficient way and control their size, orientation, and density for maximum realism.
Working on the details
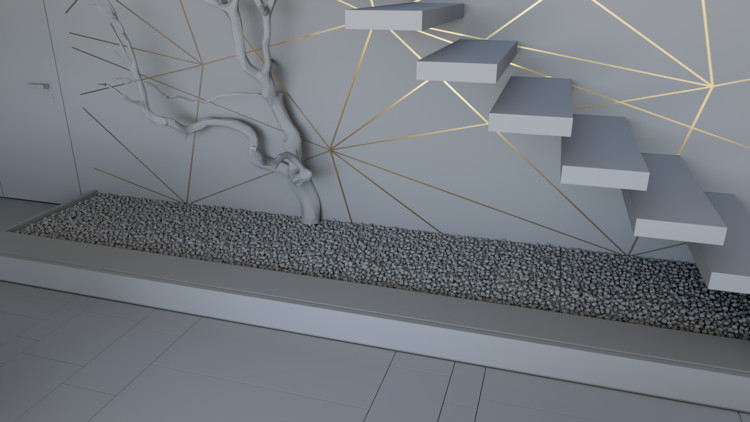
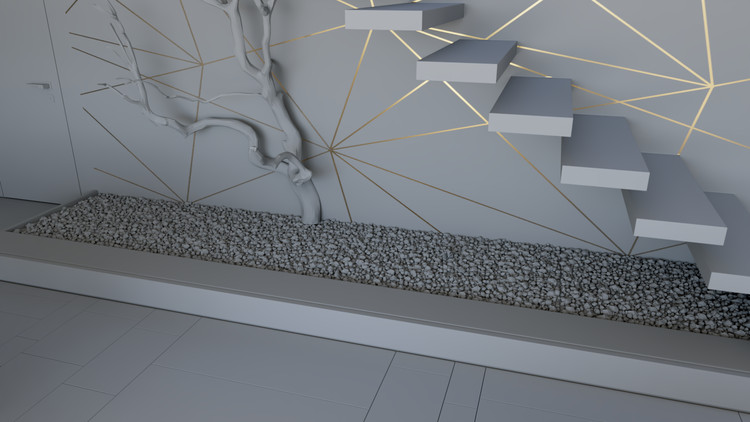
I'm going to create a new camera looking at the base of the stairs.
Scatter tool
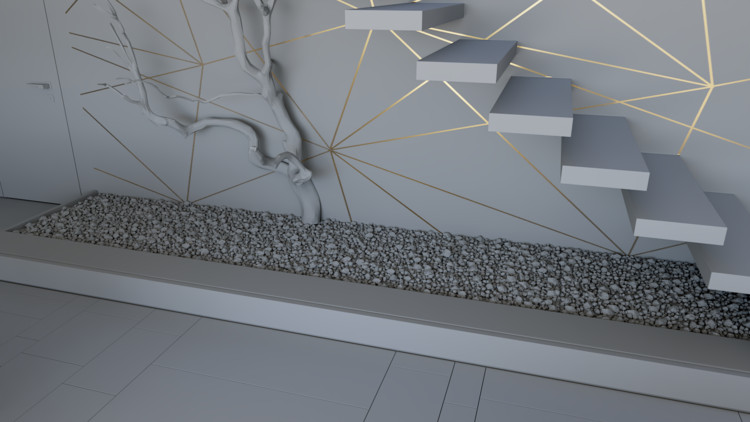
Even though my stone proxy objects give me an excellent result, the repetition of the blocks is still noticeable. I would like to break up that pattern for a more realistic effect.
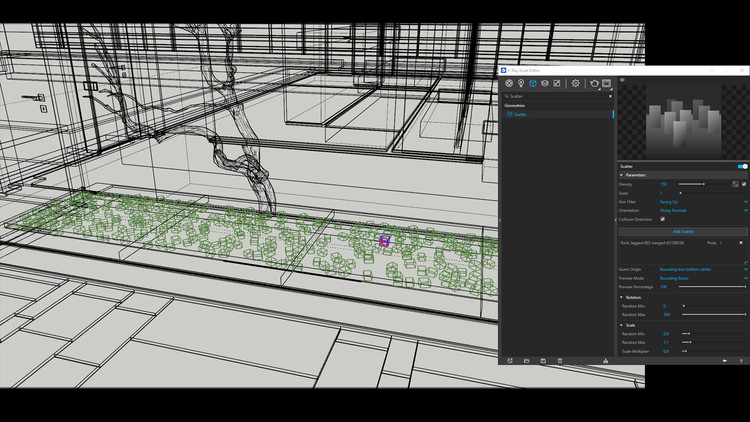
I will create a Scatter definition from my geometry section in the V-Ray Asset Editor. Then I will make a plane that corresponds to the entire stone section and apply my Scatter to the plane.
Again, I go to Chaos Cosmos and download a rock asset, place it in the space where the stones are, scale it a bit, and assign the geometry in the Scatter tool. The default parameters give an exciting result. However, I will make two adjustments; I will modify my Density from 1 to 150 and adjust the Scale Multiplier value to .8, and I will try some values until I have a result that I like.
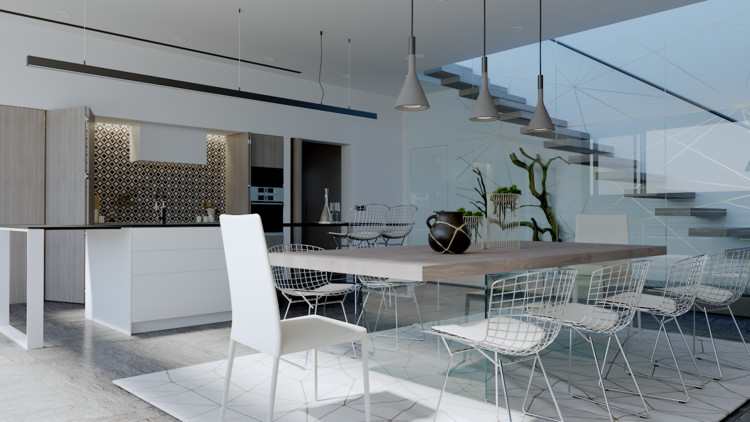
Final render
Rendering
It's time to set up my final render. I open my V-Ray Asset Editor and go to my render elements. Here, I select LightMix, so I can adjust the lighting after I render. I also activate V-Ray Denoiser.
It is important to mention that all renders for this tutorial were processed using the High quality preset.
LightMix and Post-Process
Post-processing
I created a beautiful render, but I need to adjust my final image. First, I will use LightMix to experiment with the way lights contribute to my scene. I want to obtain a slightly darker image, and I want the lights to look as if they’re switched on.
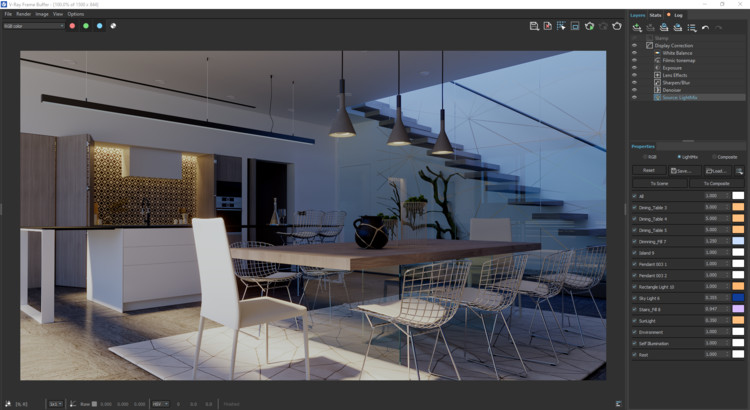
I turn on the lens effects and slightly sharpen the final image.
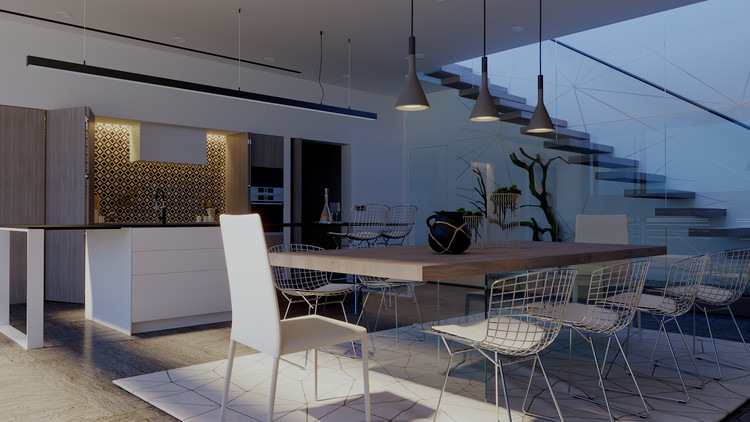
I’m delighted with the way the render turned out, and you should now understand how V-Ray 5 for SketchUp’s new features can quickly deliver outstanding results.
Get hands-on with V-Ray 5 for SketchUp’s latest features. Begin your free trial.

