-
Use
Large format porcelain slabs, floors, walls, interior fittings, furniture -
Applications
Residential, commercial, hospitality -
Characteristics
Durable, high aesthetic qualities, minimal thickness, high-tech
1 Product File

1 Product File
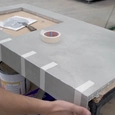
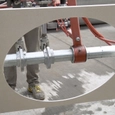
Handling, cutting, and laying large format porcelain slabs can be seen as quite the task, but is simple when understood properly and carried out with attention. The Maximum range of high-tech ceramic slabs from Fiandre is well-suited for transit and workability thanks to their relatively lightweight and minimal thickness while maintaining the solidity and durable properties of porcelain.
Maximum extra-long format porcelain can be used to cover floors and walls, as well as to customize a large range of interior design items and furnishings. Easily benefit from the high technical performance and aesthetic qualities of the material while exploiting the desired form using technical arrangements.
The following is a guide to handling, laying, and cutting Maximum extra-long format porcelain. *Each point refers to the attached video tutorials.
Moving the Large Slabs - Tutorial 01
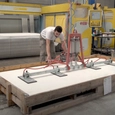
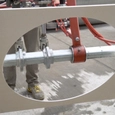
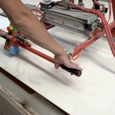
The process of moving the slabs is simple but requires attention and care. This is due to their large size and limited thickness which makes them more susceptible to cracking. A platform is layed on a forklift which the ceramic slab is lifted onto. This is done by using suction cups either with a pressure gauge or by means of the special extendable aluminum device that is fitted with 6 suction cups. The device includes a non-slip rubber seal and sliding handles, ensuring safe and simple handling.
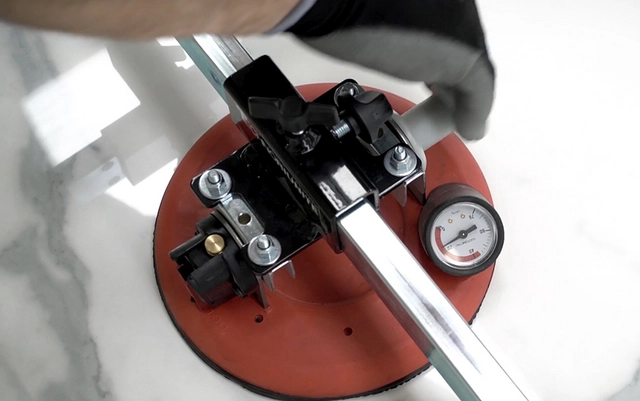 | Moving slabs using suction cups with a pressure gauge |
Cutting the Large Slabs - Tutorial 02
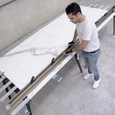
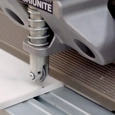
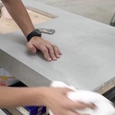
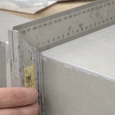
The ceramic slab is placed on a work table to be cut. To cut the surfaces, a specific professional ceramic surface cutter for porcelain slabs is used. First, pre-cut the slab along its entire length using the diamond-coated blade by means of the carriage. Adjust the pliers and detach the part that has been cut away. This can be done in small sections.
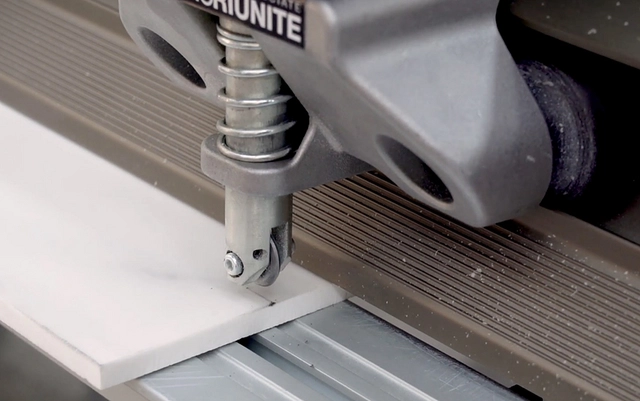 | A diamond-coated blade is used to pre-cut the slab |
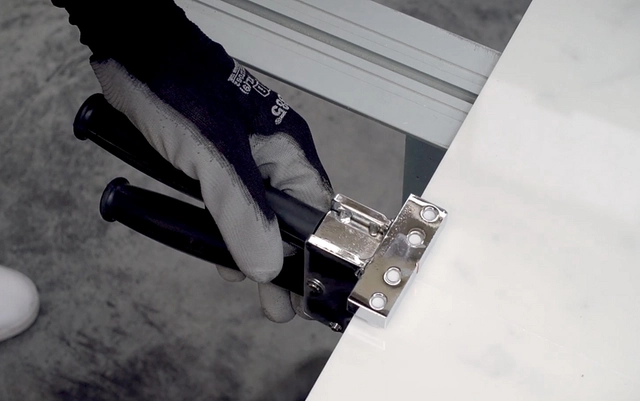 | Adjusting pliers to detatch the part manually |
Drilling Holes into the Slabs - Tutorial 03
Once the base is secured underneath the large slab, the screw gun paired with a diamond bit can be used to drill a hole. To make a square or rectangular section, use the drill in the four corners of the desired section (wetting them with a lubricant), cut the shape out with an angle grinder, using a diamond bladeand sand the abrasive sections until the smoothest finish is achieved.
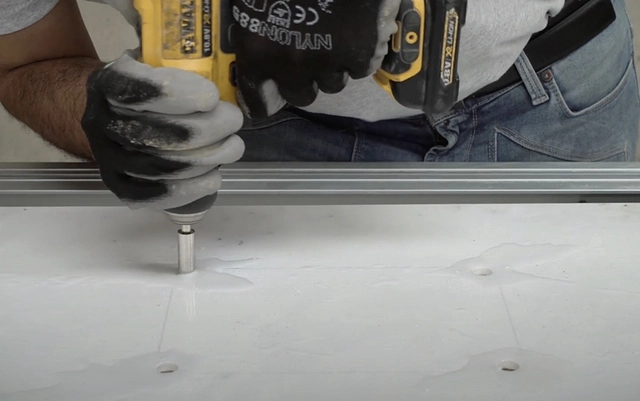 | Wet the slab while drilling |
Laying the Slabs - Tutorial 04
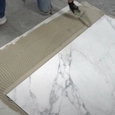
To lay the large slabs, first, mix the high-performance Class S2 cement-based adhesive. Apply the adhesive both to the back of the slab and on the setting bed to ensure the best possible adhesion.
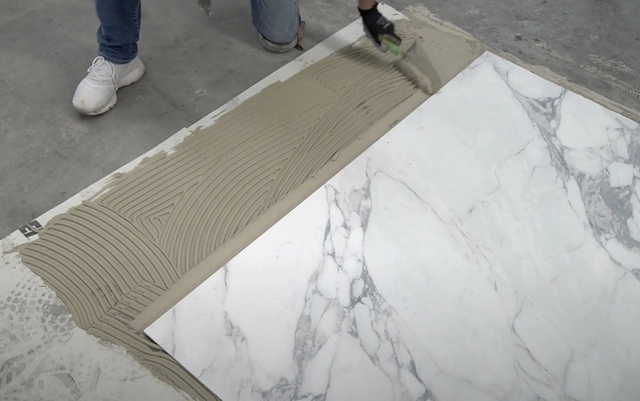 | Apply S2 cement-based adhesive to the setting bed and back of the slab |
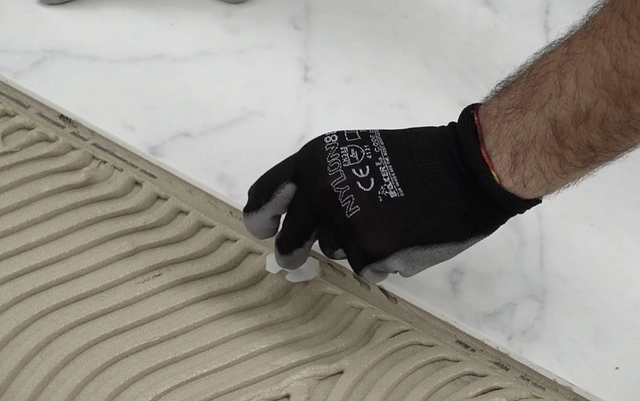 | Position spacers |
Using a Ceramic Cutting and Squaring Machine - Tutorial 05
You can customise porcelain surfaces using the ceramic cutting and profiling machines which allow for various shapes to be created. Starting from the large-size slabs, form the shape with the machine. The slabs are laid the same way as any other piece. The cutting machine is most suitable for design applications and to achieve the most customized surfaces.
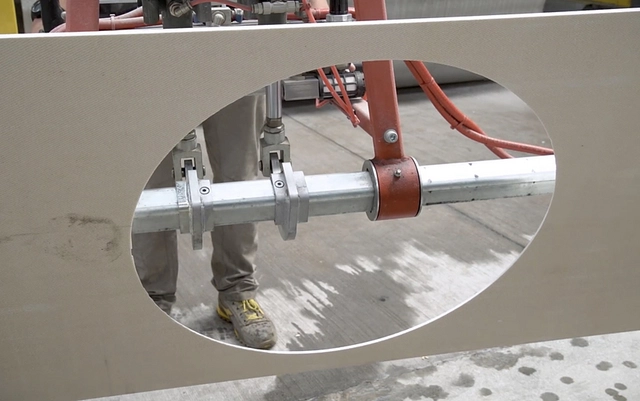 | The machine can be programed to create different shapes. |