-
Use
Orthographic views -
Applications
3D design -
Characteristics
Set up render viewport in Escape window, easy navigation, free trial available
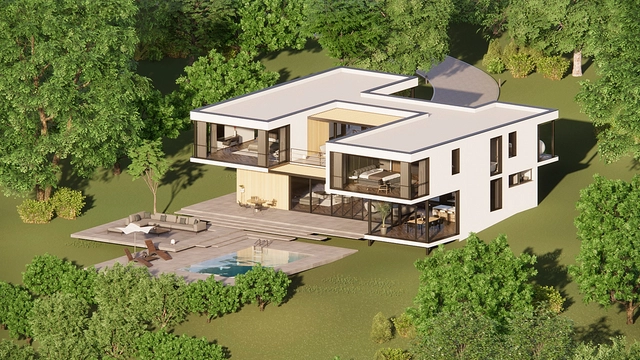
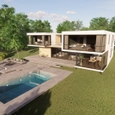
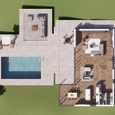
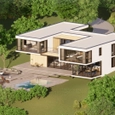
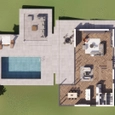
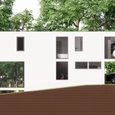
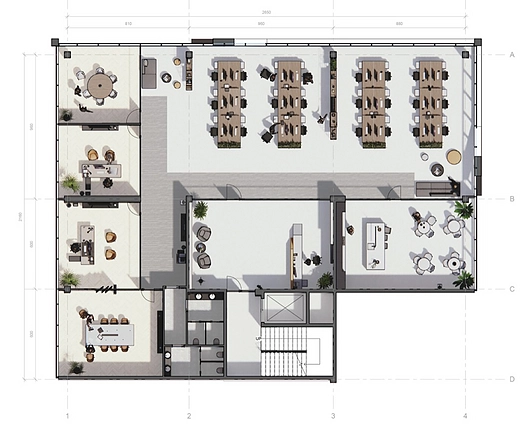
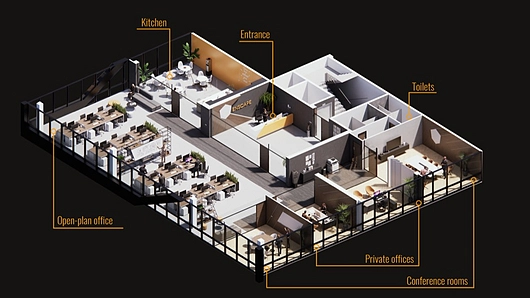
Orthographic views are a vital part of any architect’s workflow, and Enscape makes it easier than ever to render them in striking clarity. Every stage of the design process can benefit from an orthographic rendering. Use a floor plan to communicate the space to your client early on, and then convince them of the project with elevation views from any angle.
 |  |
Setting Up Orthographic Views in Enscape
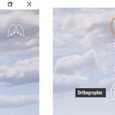
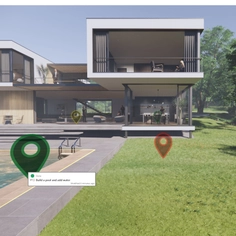
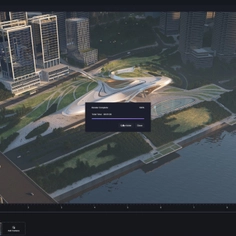
You can set up your rendering viewport for an orthographic view right in the Enscape window. Notice the projection options in the top right corner of the screen. If you don’t see the buttons initially, don’t worry! Try switching the Help overly on by pressing the H key on your keyboard.
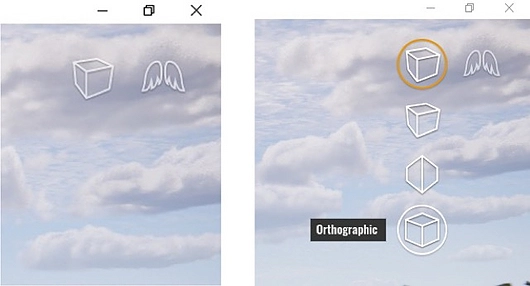 |
Hovering your mouse over the button expands the overlay, and you’ll see that you have three options: perspective, two-point, or orthographic. Selecting orthographic will immediately adjust your Enscape window to that projection.
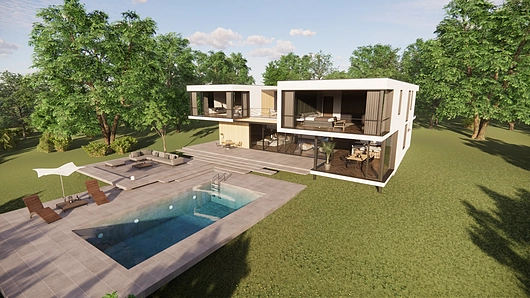 | 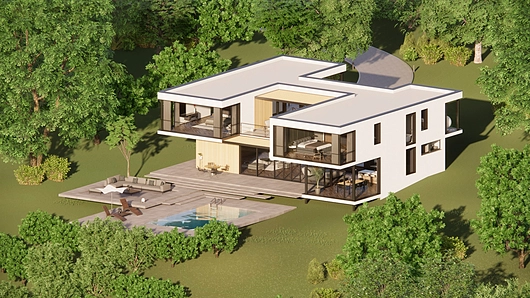 |
Orthographic projection provides a different set of parameters for navigating around your project; once you enter the orthographic view, the Help overlay will change to show these.
Then by using the NumPad keys 2, 4, 5, 6, and 8 you will be able to quickly navigate between the front, left side, top, right side, and back view of the project respectively. If you are using Enscape with Revit, ArchiCAD or Vectorworks, this is the easiest way to navigate to and from orthographic views.
In Enscape for SketchUp, you can also set up an orthographic view by matching your SketchUp viewport to your Enscape window. First synchronize the SketchUp and Enscape cameras via the button in the Enscape ribbon. Then navigate to SketchUp’s Camera dropdown menu and select Parallel Projection.
Now the SketchUp and Enscape windows are both in orthographic view, and when you navigate in SketchUp, the Enscape window is synced and will follow along.
In Enscape for Rhino, the same is possible. First synchronize the Rhino and Enscape cameras via the button in the Enscape ribbon. Then in the Rhino menu, navigate to View -> Set View, and you can select one of the following orthographic views: Top, Bottom, Left, Right, Front and Back.
Working with section perspectives
Working with your CAD’s native tools, you can also easily create sectioned views and floor plans.
- Revit: Section Box
- SketchUp: Section Planes
- Rhino: Clipping Planes
- ArchiCAD: Section Tool
- Vectorworks: Cutting Sections
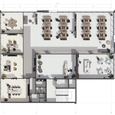
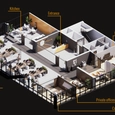
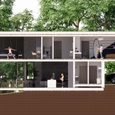
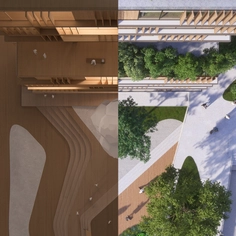
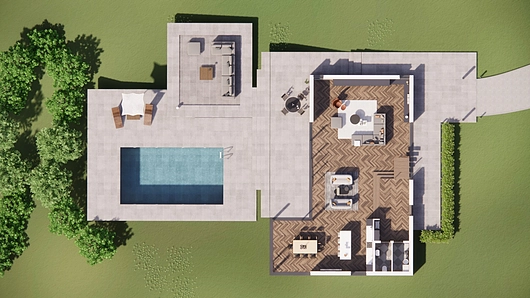
Navigating to a top-down orthographic view and applying a section box creates an easy to understand floor plan.
 |
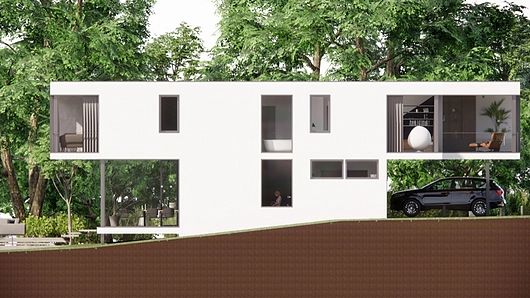
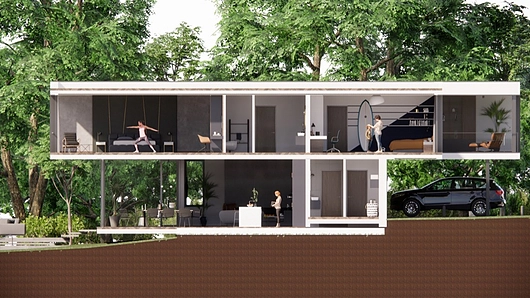
Navigating to a side view allows you to create elevation views. Add a section box, and you can clearly communicate both exterior and interior elevations.
 |  |
A Variety of Views in a Flash
As a tool for clear communication of space and design, orthographic views are unmatched. When clients or investors have trouble understanding flat design plans, a rendered orthographic view can convince them of the project with one look. Enscape eliminates the need to sketch the modeled project in 2D; save yourself the time by combing an orthographic view with a section box for a quick floor plan.
Find Your Own Perspectives
Test Enscape on your own projects for 14 days by downloading the free trial. After that, it's possible to buy a monthly or yearly license in the Enscape store.


