Decorative Ceiling tiles provides complete wall and ceiling decor systems. The metal tiles and accessories are available in aluminum, steel, and copper with over 150 finish options, everything is made in the USA with recycled materials.
Metal Decor Systems
- Tiles
- Fillers
- Moldings
- Nails
- Grid covers
- Grid system
Finishes
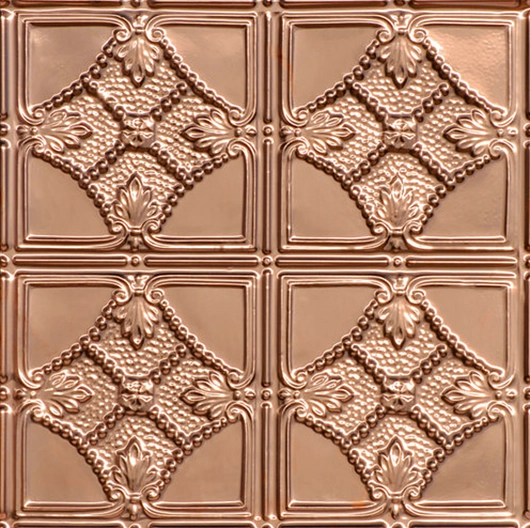
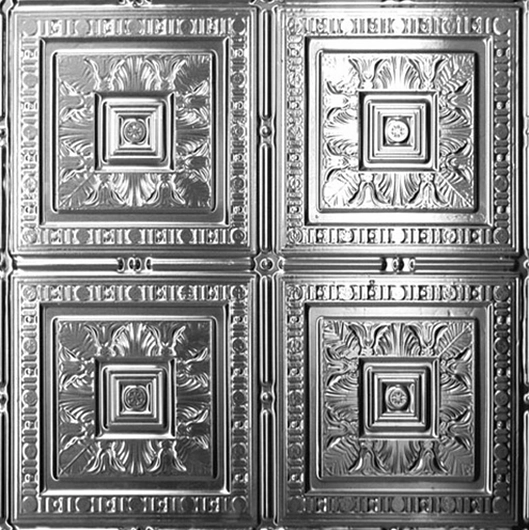
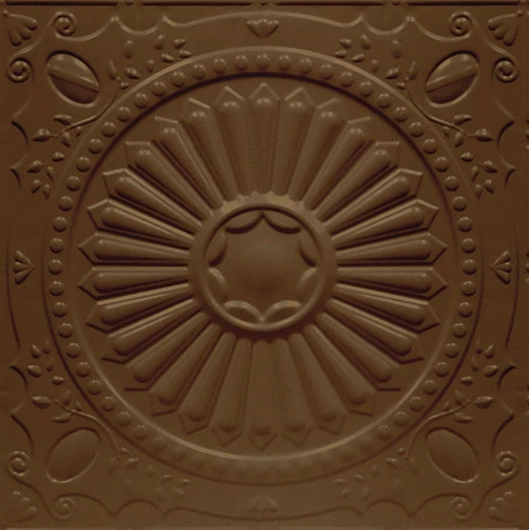
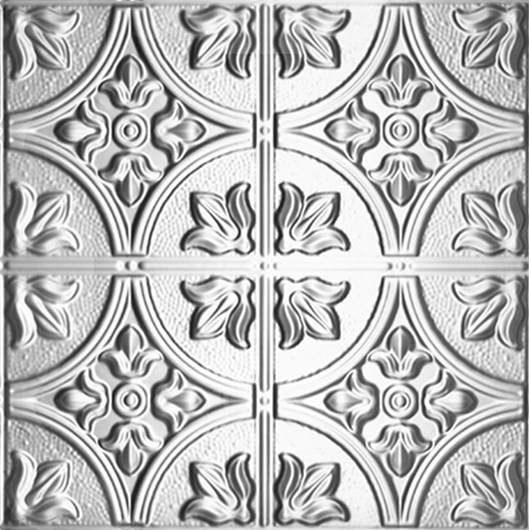
| Copper | Aluminum | Powder Coated Steel | Tin-Plated Steel |
| | | | |
Decorative Ceiling Tiles Installation
- Find the Center of your Ceiling
Stretch two strings across the ceiling at diagonals from opposite corners, and where they cross should be the center. Finish nails tacked into the ceiling plywood can be used to secure the ends of the strings. Draw two perpendicular lines at the room center where the strings cross to divide the ceiling into four quadrants.
Measure across the ends of your room and make a mark on the ceiling at the center of each perimeter wall, taking into account any offsets or unique situations that may affect your measurements. Use a chalk line to snap lines through the exact center of the room previously marked to perimeter wall centers; this should provide square lines to guide the installation of your first tile and those that follow. You can get chalk line anywhere you can shop for building supplies. - Nail Tiles in Place
The first tile should be placed in the center of the room and a corner lined up with the perpendicular lines. Subsequent tiles should be installed in parallel rows. For a design with overlapping edges, take care that the overlap is in the same direction with each tile. - Perimeter Tiles
Filler tiles will need to be cut for perimeters. In many cases, decorative crown molding or another type of edge trim will be installed after installation. If this is the case you just need them long enough so the edge is covered by the trim. Tin tiles can be cut with tin snips. Ensure that all ceiling vents or other fixtures are also cut out. When all perimeter filler tiles have been installed, your crown or cornice molding can be measured, cut, and nailed into place.
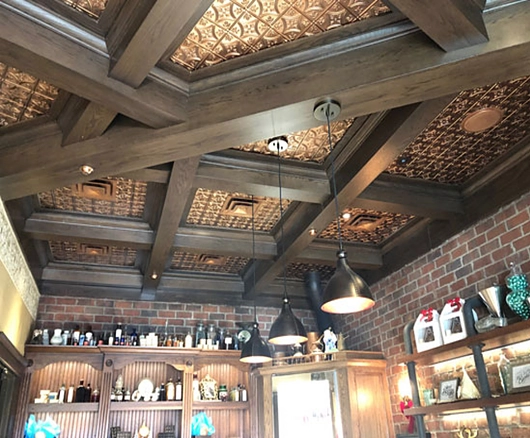
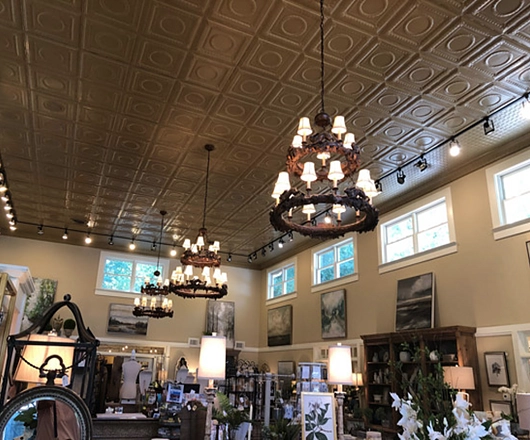
Featured Projects
| Project | Retail Store | White Rabbit Cottage (retail) |
| Image | | |
| Material | Aluminum | Tin-Plated Steel |
| Finish | Polished Copper | Powder Coated Steel |
| Tile Name | Princess Victoria | Victory |