This article was originally posted on ArchSmarter.
ArchDaily recently posted an interesting article on using animated GIFs for architectural drawings. The article had some great examples but was short on details of how to actually create these images.
I was curious how to create animated GIFs using Revit so I looked into the process. It turns out it’s pretty easy, provided you’re systematic when creating your views and have access to photo-editing software, like PhotoShop. Want to try it yourself? Follow the steps below to create your own animated GIFs in Revit.

Step 1 – Create Views in Revit
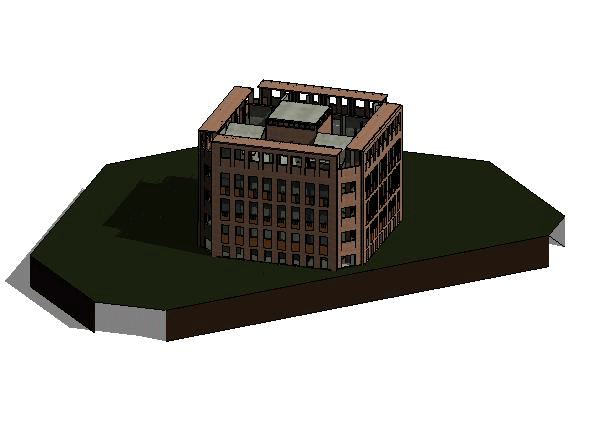
Animated GIFs work best when you use a consistent view point and change something within the view, like the visibility of elements or the cutting plane of a section box. For this example, I’m going to change the cutting plane of a section box so my GIF will animate the the movement of the section through the building.
To start, I create the initial 3D view and turn on the section box. This is my starting view so I make sure the section box isn’t cutting the building. I name this view with a “_01” suffix. I also create a new 3D view template and add it to this view. I’ll use this template to control the visibility of the section box in all the animation views.
Once that’s done, I duplicate the view, move the section box into the building by about 20 feet and rename the view with an “02” suffix.
I continue this process of duplicating the view, moving the section box, and renaming the view until the section box has passed through the entire building.
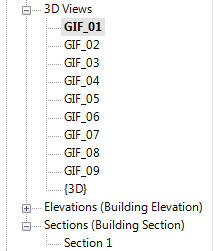
Try to use at least 8 – 10 images. The more images, the smoother your animation.
Once I’ve created all the views, I edit my view template and turn off the section box.
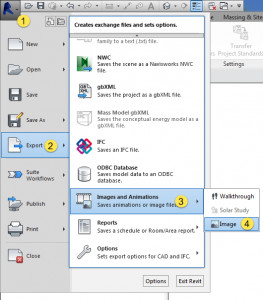
Step 2 – Export Images
Now that you have all the images created, export them using the “Export Image” dialog. Go to the Revit button, select “Export” then choose “Images and Animations” and finally, “Image”. This will launch the “Export Image” dialog.
In the “Export Image” dialog, select the views to export in the “Export Range” section. I like to use PNG files so, in the “Format” section, I select PNG for “Shaded views” and “Non shaded views”. Also, set the image size for the images in the “Image Size” section. I like to use 600 pixels horizontal for animated GIFs.
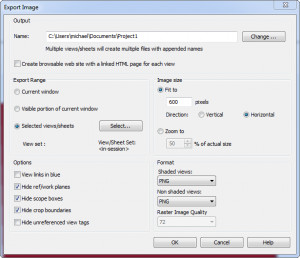
Select the output folder then click “OK” to export the images.
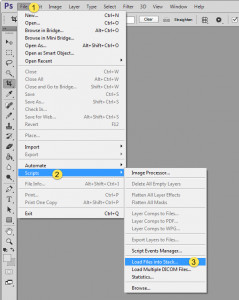
Step 3 – Load Images into PhotoShop
Now that we have the image files for our animation, we need to put them in the GIF file and animate them. To do this, we’re going to use Photoshop. The first step is to load the individual image files as layers using the “Load Files into Stack” script. To access the script, go to File > Scripts > Load Files into Stack.
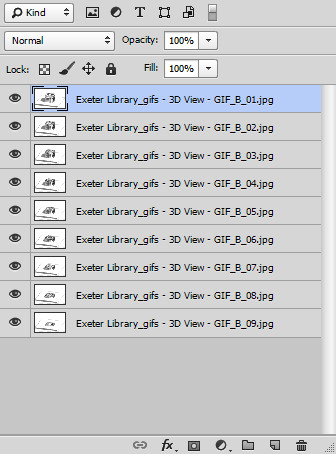
Each image will appear as an individual layer in the “Layers” dialog box, as shown below.
Step 4 – Open Timeline
Photoshop has a cool feature that lets you manipulate an image over time. We’re going to use this to create the animated GIF. To open the Timeline window, go to Window > Timeline. This will open the Timeline window at the bottom of your screen.

With the Timeline window open, click the “Create Frame Animation” button, as shown below. If you don’t see the “Create Frame Animation” button, don’t worry. Just skip to the next step below.

Once you’ve done that, click the menu button on the far right-hand side of the Timeline window and select “Make Frames from Layers”. This will import all the layers into the timeline.

The individual images that we imported as layers will make up the key frames of our animation as shown in the image below.

Step 5 – Set Animation Settings
Now that we have all the frames of our animation, we can specify the time interval between each frame as well as how many times the animation should repeat.
First, shift-click and highlight all the frames in the timeline. Once you have them all selected, click the “0 sec.” drop-down on one of the images and choose your interval. I like 0.5 seconds but you should experiment to see what works best for you.

Next, select how often the animation should repeat. I like my animated GIFs to loop continuously so I select the “Forever” option as shown in the image below.

To test your animation, click the “Play” button at the bottom of the Timeline window. This will cycle through all the images in your animation.
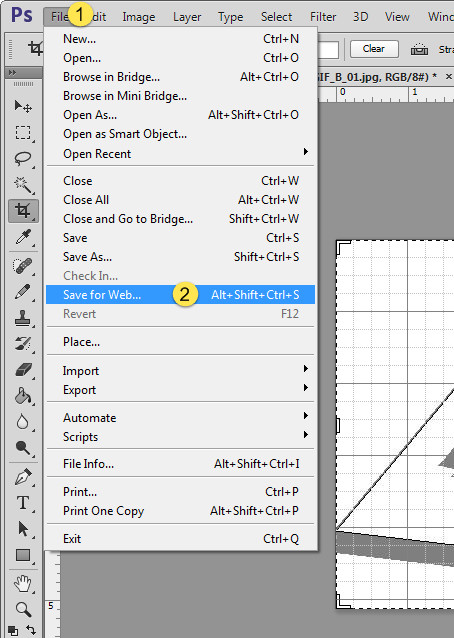
Step 6 – Export the GIF
Our animated GIF is all set. We just need to export the file. Go to File > Save for Web to open the “Save for Web” dialog.
In the “Save for Web” dialog, choose your GIF options. I typically select the “GIF 128 Dithered” preset at the top right-hand side of the dialog. You can also specify your final image size in the “Image Size” section.

Once everything looks good, click “Save” and specify the location where you want to save the file. That’s it!
Step 7 – View Your GIF
To view your GIF, drag the file into a web browser, like Chrome or Firefox. This will play the animation automatically.

If you want to step through the file manually, open the GIF in an image viewer like Windows Live Photo Gallery.
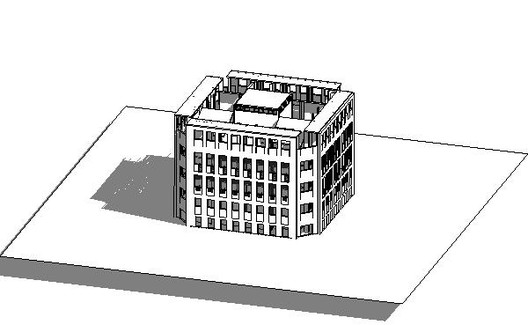
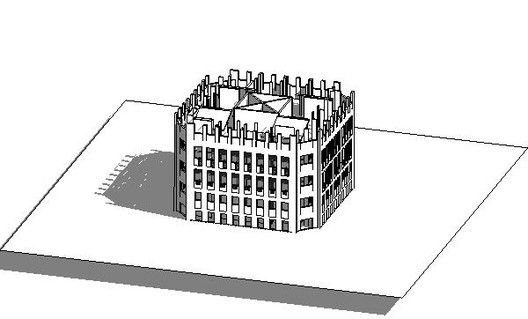
Here’s another animation of the same model:
Conclusion
Animated GIFs are a lightweight and easy way to create more dynamic architectural diagrams. Using the steps above, you can quickly express your design intent in a very compact format. If a picture is worth a thousand words, an animated GIF is worth at least a few dozen pictures, right?
How about you? Have you used animated GIFs on your website or in a presentation? If so, what methods have you used to create the diagrams? Leave a comment below!
7 Ways to Use Animated GIFs to Improve Your Project Presentation
